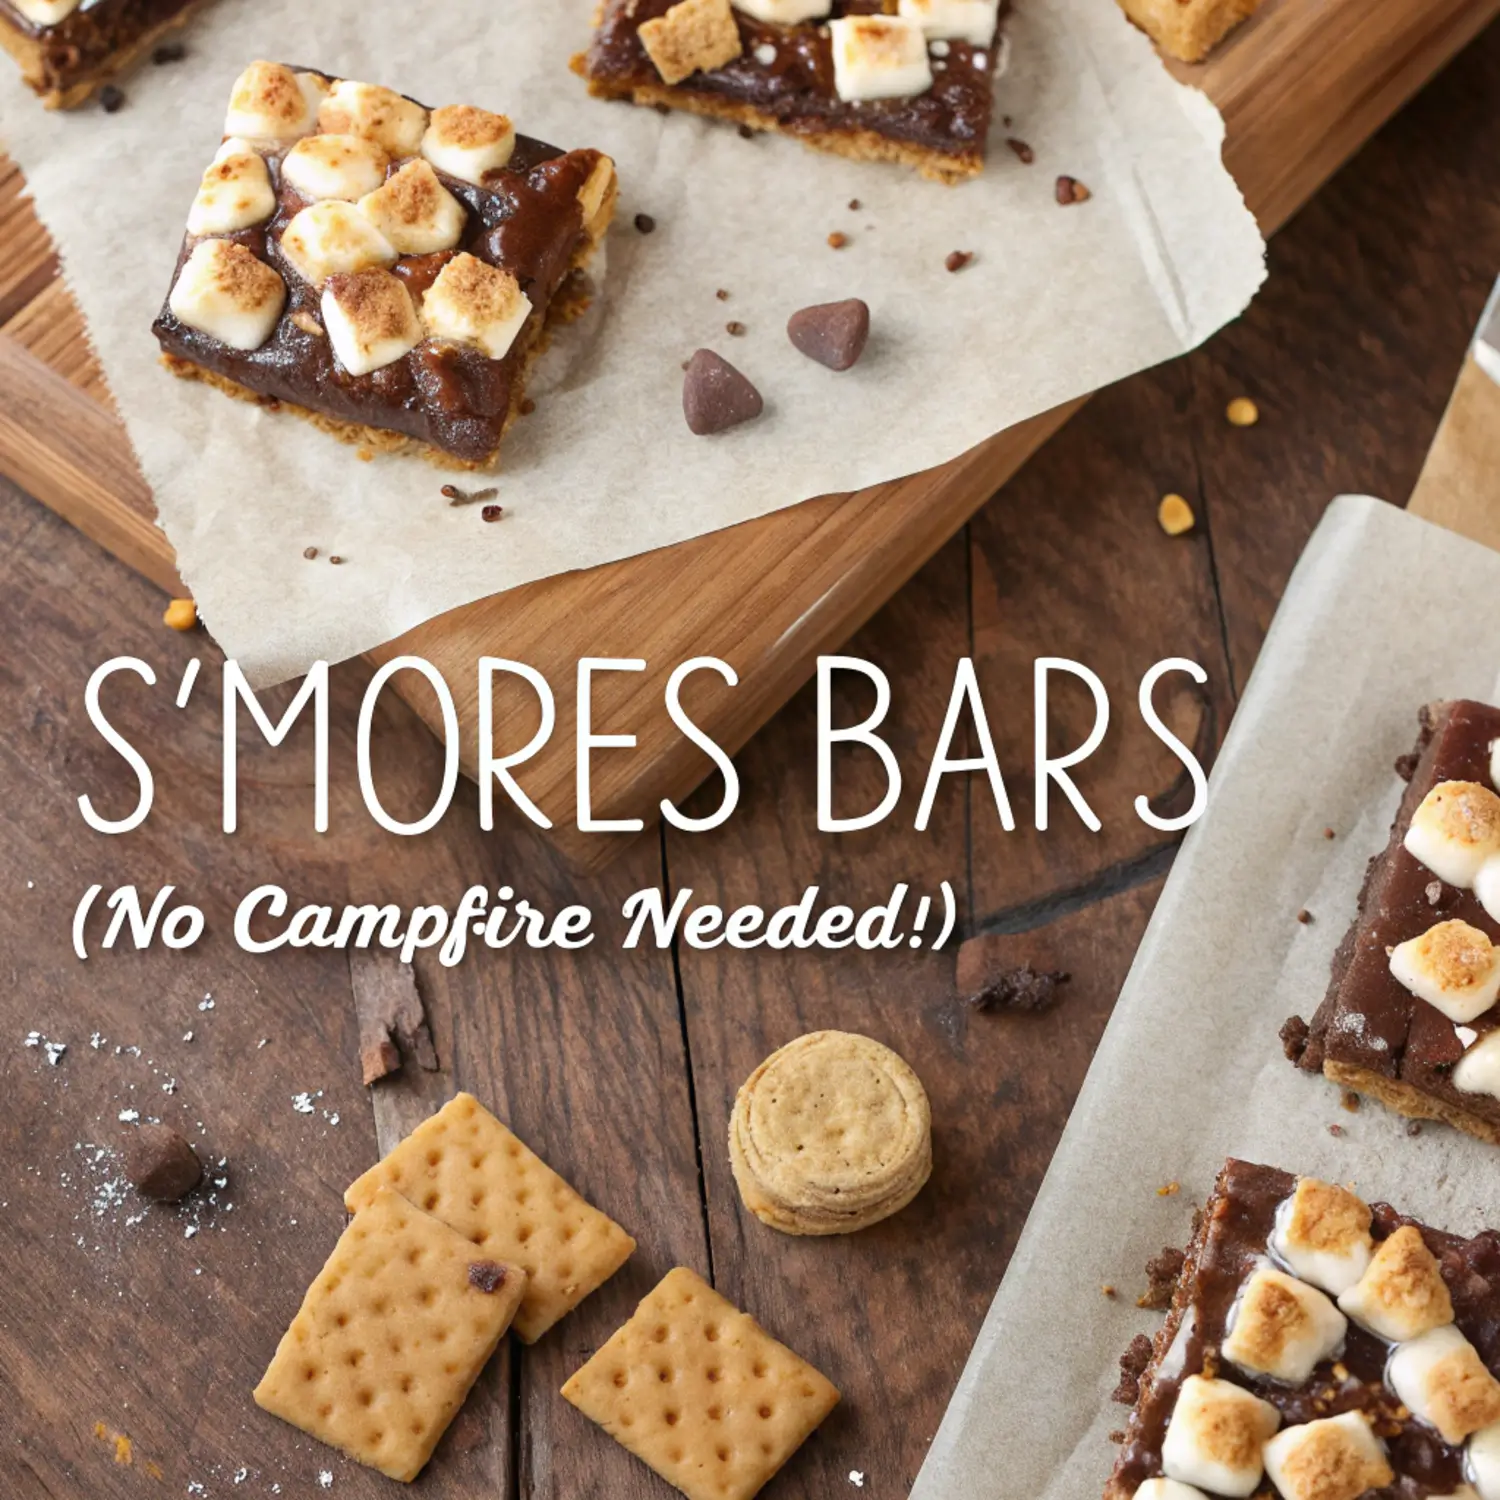
There’s something about s’mores that instantly evokes cozy memories—crackling campfires, sticky fingers, and gooey bites of chocolate and marshmallow sandwiched between graham crackers. But what if we told you that you can recreate all that magic without ever leaving your kitchen? Introducing S’mores Bars Without the Campfire—the perfect no-fuss, oven-baked treat that delivers everything you love about classic s’mores in a portable, shareable bar form.
Whether you’re hosting a summer get-together, prepping for a bake sale, or just craving something nostalgic and sweet, these easy homemade s’mores bars are a guaranteed hit. Plus, they’re made with pantry staples and require zero fire-building skills. Win-win, right?
🧁 Why You’ll Love These Easy S’mores Bars
No campfire needed
Ready in under 30 minutes
Perfect for crowds, parties, or weeknight cravings
Freezer-friendly and great for make-ahead snacks
Loaded with chocolate, marshmallows, and graham cracker goodness
🔍 What Are S’mores Bars?
S’mores bars are a dessert inspired by the classic American campfire treat: s’mores. Instead of sandwiching toasted marshmallows and chocolate between graham crackers, this recipe transforms those three iconic ingredients into decadent dessert bars baked in the oven. Think: gooey layers of chocolate and marshmallow nestled inside a buttery graham cracker crust.
These oven-baked s’mores bars are everything you didn’t know you needed—chewy, crunchy, melty, and absolutely irresistible.
🛒 Ingredient List for Homemade S’mores Bars
Here’s everything you’ll need to make these easy s’mores bars at home:
Crust Layer:
2 cups graham cracker crumbs (about 16 whole crackers)
½ cup unsalted butter, melted
¼ cup brown sugar, packed
Filling:
1½ cups milk chocolate chips (or chopped milk chocolate bars)
1½ cups mini marshmallows
½ cup marshmallow fluff or crème (optional, for extra gooeyness)
Top Layer:
1 cup graham cracker chunks (roughly broken, not crushed)
¾ cup mini marshmallows
Additional chocolate chips or chunks for garnish (optional)
🍳 How to Make S’mores Bars Without a Campfire
🔥 Step 1: Preheat and Prep
Preheat your oven to 350°F (175°C). Line an 8×8-inch baking pan with parchment paper, leaving a bit of overhang on the sides for easy lifting later.
🧂 Step 2: Make the Graham Cracker Crust
In a medium mixing bowl, combine graham cracker crumbs, melted butter, and brown sugar. Stir until the mixture resembles wet sand. Press the mixture firmly into the bottom of your prepared baking pan using a flat-bottomed glass or measuring cup.
Pro Tip: Use a double layer of parchment if your marshmallows tend to stick.
🍫 Step 3: Layer the Chocolate and Marshmallows
Sprinkle milk chocolate chips evenly over the crust. Add a generous layer of mini marshmallows on top. If you’re using marshmallow fluff, gently spread it over the chocolate before adding mini marshmallows for a double hit of gooeyness.
🔁 Step 4: Add Toppings
Scatter graham cracker chunks over the top, followed by extra marshmallows and a few more chocolate chips for that signature s’mores look.
⏲️ Step 5: Bake to Perfection
Bake in the preheated oven for 12–15 minutes, or until the marshmallows are lightly golden and toasty.
Pro Tip: Keep a close eye on the marshmallows toward the end—once they start browning, they toast FAST.
❄️ Step 6: Cool and Slice
Let the bars cool completely in the pan. For cleaner slices, refrigerate for 30 minutes before cutting. Use a sharp knife and clean it between cuts for that picture-perfect finish.
⚠️ Common Mistakes to Avoid
Don’t skip the parchment paper – it makes lifting and cutting the bars way easier.
Avoid overbaking – once marshmallows toast, pull it out. Overbaking can lead to a tough, overly dry crust.
Don’t slice too soon – hot marshmallow is sticky! Let it cool for clean bars.
📊 Nutritional Value (Per Serving – Based on 12 Bars)
| Nutrient | Amount |
|---|---|
| Calories | 220 kcal |
| Total Fat | 10g |
| Saturated Fat | 6g |
| Cholesterol | 20mg |
| Sodium | 85mg |
| Total Carbohydrates | 30g |
| Sugars | 20g |
| Protein | 2g |
| Fiber | 1g |
Note: Values may vary slightly based on specific ingredients used.
🧁 Tips & Variations
💡 Tips:
Chill the bars before slicing for clean, neat edges.
Add a pinch of sea salt on top before baking to balance the sweetness.
For thicker bars, double the crust and bake in a 9×9 pan.
🍓 Fun Variations:
Peanut Butter S’mores Bars: Swirl in ½ cup peanut butter with the chocolate.
Nutella S’mores Bars: Replace marshmallow fluff with Nutella for a rich twist.
Cookies & Cream S’mores Bars: Add crushed Oreo cookies on top for crunch and flavor.
Gluten-Free Version: Use gluten-free graham crackers for a coeliac-friendly treat.
🧊 Storage & Reheating
Storing:
Room Temperature: Store in an airtight container for up to 3 days.
Refrigerator: Keeps well for up to 1 week. Let sit at room temp before serving.
Freezer: Wrap tightly in plastic wrap and store in a freezer bag for up to 2 months.
Reheating:
Warm individual slices in the microwave for 10–15 seconds to soften marshmallows and melt chocolate.
Reheat in a 300°F oven for 5 minutes if serving a full batch.
❓ FAQs
1. Can I use large marshmallows instead of mini ones?
Yes, but cut them into smaller pieces for even melting and better coverage.
2. Can I make these s’mores bars in advance?
Absolutely! These bars store well and actually slice better the next day.
3. Can I use dark chocolate instead of milk chocolate?
Of course! Dark chocolate gives a richer, less sweet flavor. Use 60-70% cocoa for best results.
4. Can I make this recipe dairy-free?
Yes—use dairy-free chocolate and vegan butter alternatives. Be sure your marshmallows are also vegan-friendly (many contain gelatin).
📣 Save & Share This Campfire-Free Delight!
Now that you’ve got the ultimate guide to making s’mores bars without the campfire, it’s time to grab your ingredients and dive into gooey, chocolatey bliss. Whether it’s for a party, holiday dessert tray, or just a Tuesday night treat, these bars hit every nostalgic note without the hassle.
If you loved this recipe, be sure to pin it, share it on social media, or bookmark it for later. Happy baking, and don’t forget to enjoy the melty magic—no campfire required! 🔥🍫